[Translation of previous post]
PREPARATION INSTRUCTIONS RAW SNUFF KIT
Instructions for Preparation of RAW Snuff Set.
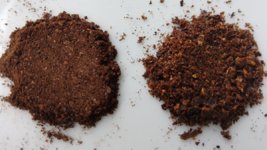
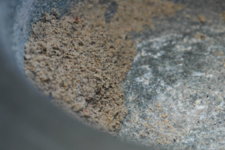
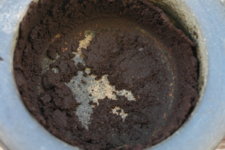
Making your own snus from scratch is a craft based on passion and commitment! Common to all good snus, however, is good raw tobacco. Therefore, we have made sure that the raw tobacco blends included in the Swedsnus RAW Snuff Set are of the highest premium quality and the accessories included are specially selected for own snuff production.
Over the years, many enthusiastic snus makers have developed and refined their own methods and tricks to produce the snus that suits them best. Therefore, we have chosen to describe in the simplest possible way the basic process required to achieve a really good result with Swedsnus RAW Snuff Set. If you are a beginner, we therefore advise you to carefully read through and follow the preparation instructions before starting your snuff making. Over time, you will surely develop your own methods and tricks to get your snus just the way you want it.
Preparation of Swedsnus RAW Snuff Set in Oven.
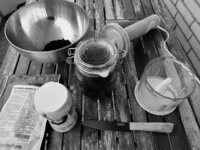
Recommended equipment for making your own snus in an oven: Kitchen assistant. Electric mixer. Heat-resistant container with tight-fitting lid. Oven thermometer. We advise against the use of aluminum or stainless steel vessels. Always use good hygiene and clean tools to avoid affecting the quality negatively.
Part 1 – Preparation and Baking.
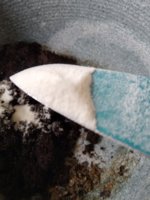
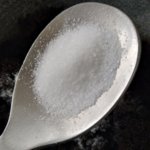
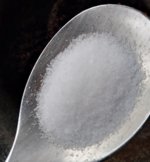
Boil 1 liter of water and add the bag containing 80 grams of sodium chloride (table salt).
*Tip: You can increase the amount of salt up to about 30 grams if you prefer more salt in your snus. In that case, use a salt without added iodine.
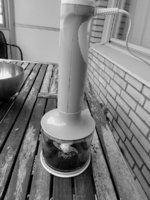
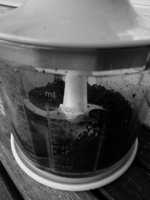
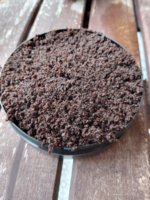
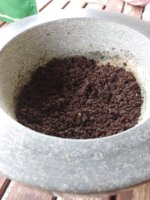
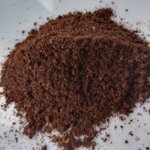
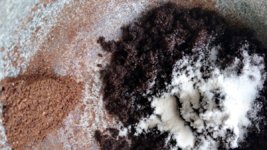
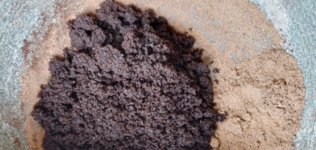
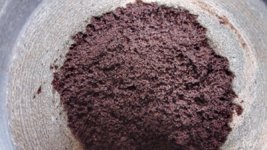
Add the salt water solution to the raw tobacco powder and whisk thoroughly with an electric whisk until all the raw tobacco powder is evenly moistened.
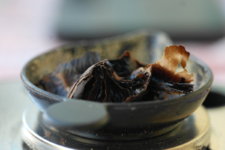
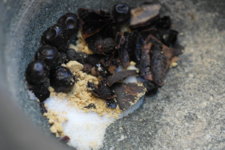
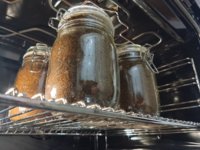
Pour the snuff mixture into a heat-resistant container or plastic jar with a lid. Make sure the snuff mixture is airy and not too tightly packed before putting the lid on. If you do not have a container with a lid, we recommend that you put the container in a roasting bag.
Heat your kitchen oven to 85º-90º C, bottom heat is preferred if possible, and place the snuff mixture in the center of the oven.
*Tip: Feel free to use a roasting bag to avoid pungent smells during the heat treatment. Then cover the entire vessel containing the snus mixture with the frying bag and seal it.
Check the temperature of the snuff mixture with an oven thermometer. From the time the temperature in the snuff mixture has reached 85º-90º C, it must remain in the oven for 24 hours.
Part 2 – Cooling and Flavoring.
Take out the finished snus after 24 hours in the oven and then let it cool to room temperature.
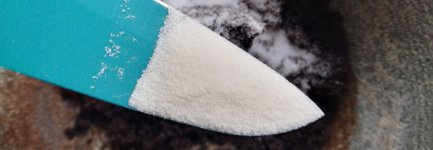
Open the bag with 75 grams of sodium carbonate (soda) and dissolve the contents in 3 dl of 40º-50ºC water and let it cool.
Add the liquid directly to the fresh snus and beat well with the electric beater so that it is distributed evenly.
Add the bag containing propylene glycol and glycerol to the snuff and beat well with the electric beater so that it is distributed evenly.
*Tip: At this stage, you can flavor the snus with aroma. In that case, we recommend that you mix the flavoring with the included propylene glycol and glycerol to make it easier to distribute it evenly in the snus.
Phase 3 – Final Processing and Storage.
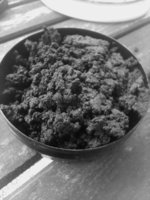
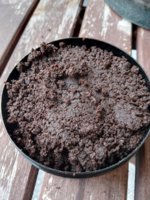
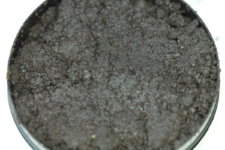
Process the snuff by kneading it in a kitchen assistant until the desired consistency is achieved on the snuff and you can easily shape the snuff into a solid ball.
*Tip: Use the Swedsnus Consistency Bag to hand knead the snus to the perfect consistency if you don't have access to a kitchen assistant.
Always store or keep fresh snus refrigerated.
- Once your fresh snus is ready for storage, we recommend that you compress it lightly.
- Fresh snus always benefits from being stored before use, as the flavors are better allowed to mature. We recommend about 10-14 days of cold storage of fresh snus before it is used.
- If you feel that the snus does not hold together or is too loose after storage, process it again according to Step 3 or process it by hand with Swedsnus Consistency Bag
- If you want a moister snus, you can always add more water afterwards and whisk the snus well.
Let yourself be tasted by your self-made loose snus!

