greenmonster714
Well-Known Member
I'm seeing some dead soldiers in my patch. Kinda expected a few to not make it. Oh well, I can live with a few open spaces. More room for the others.


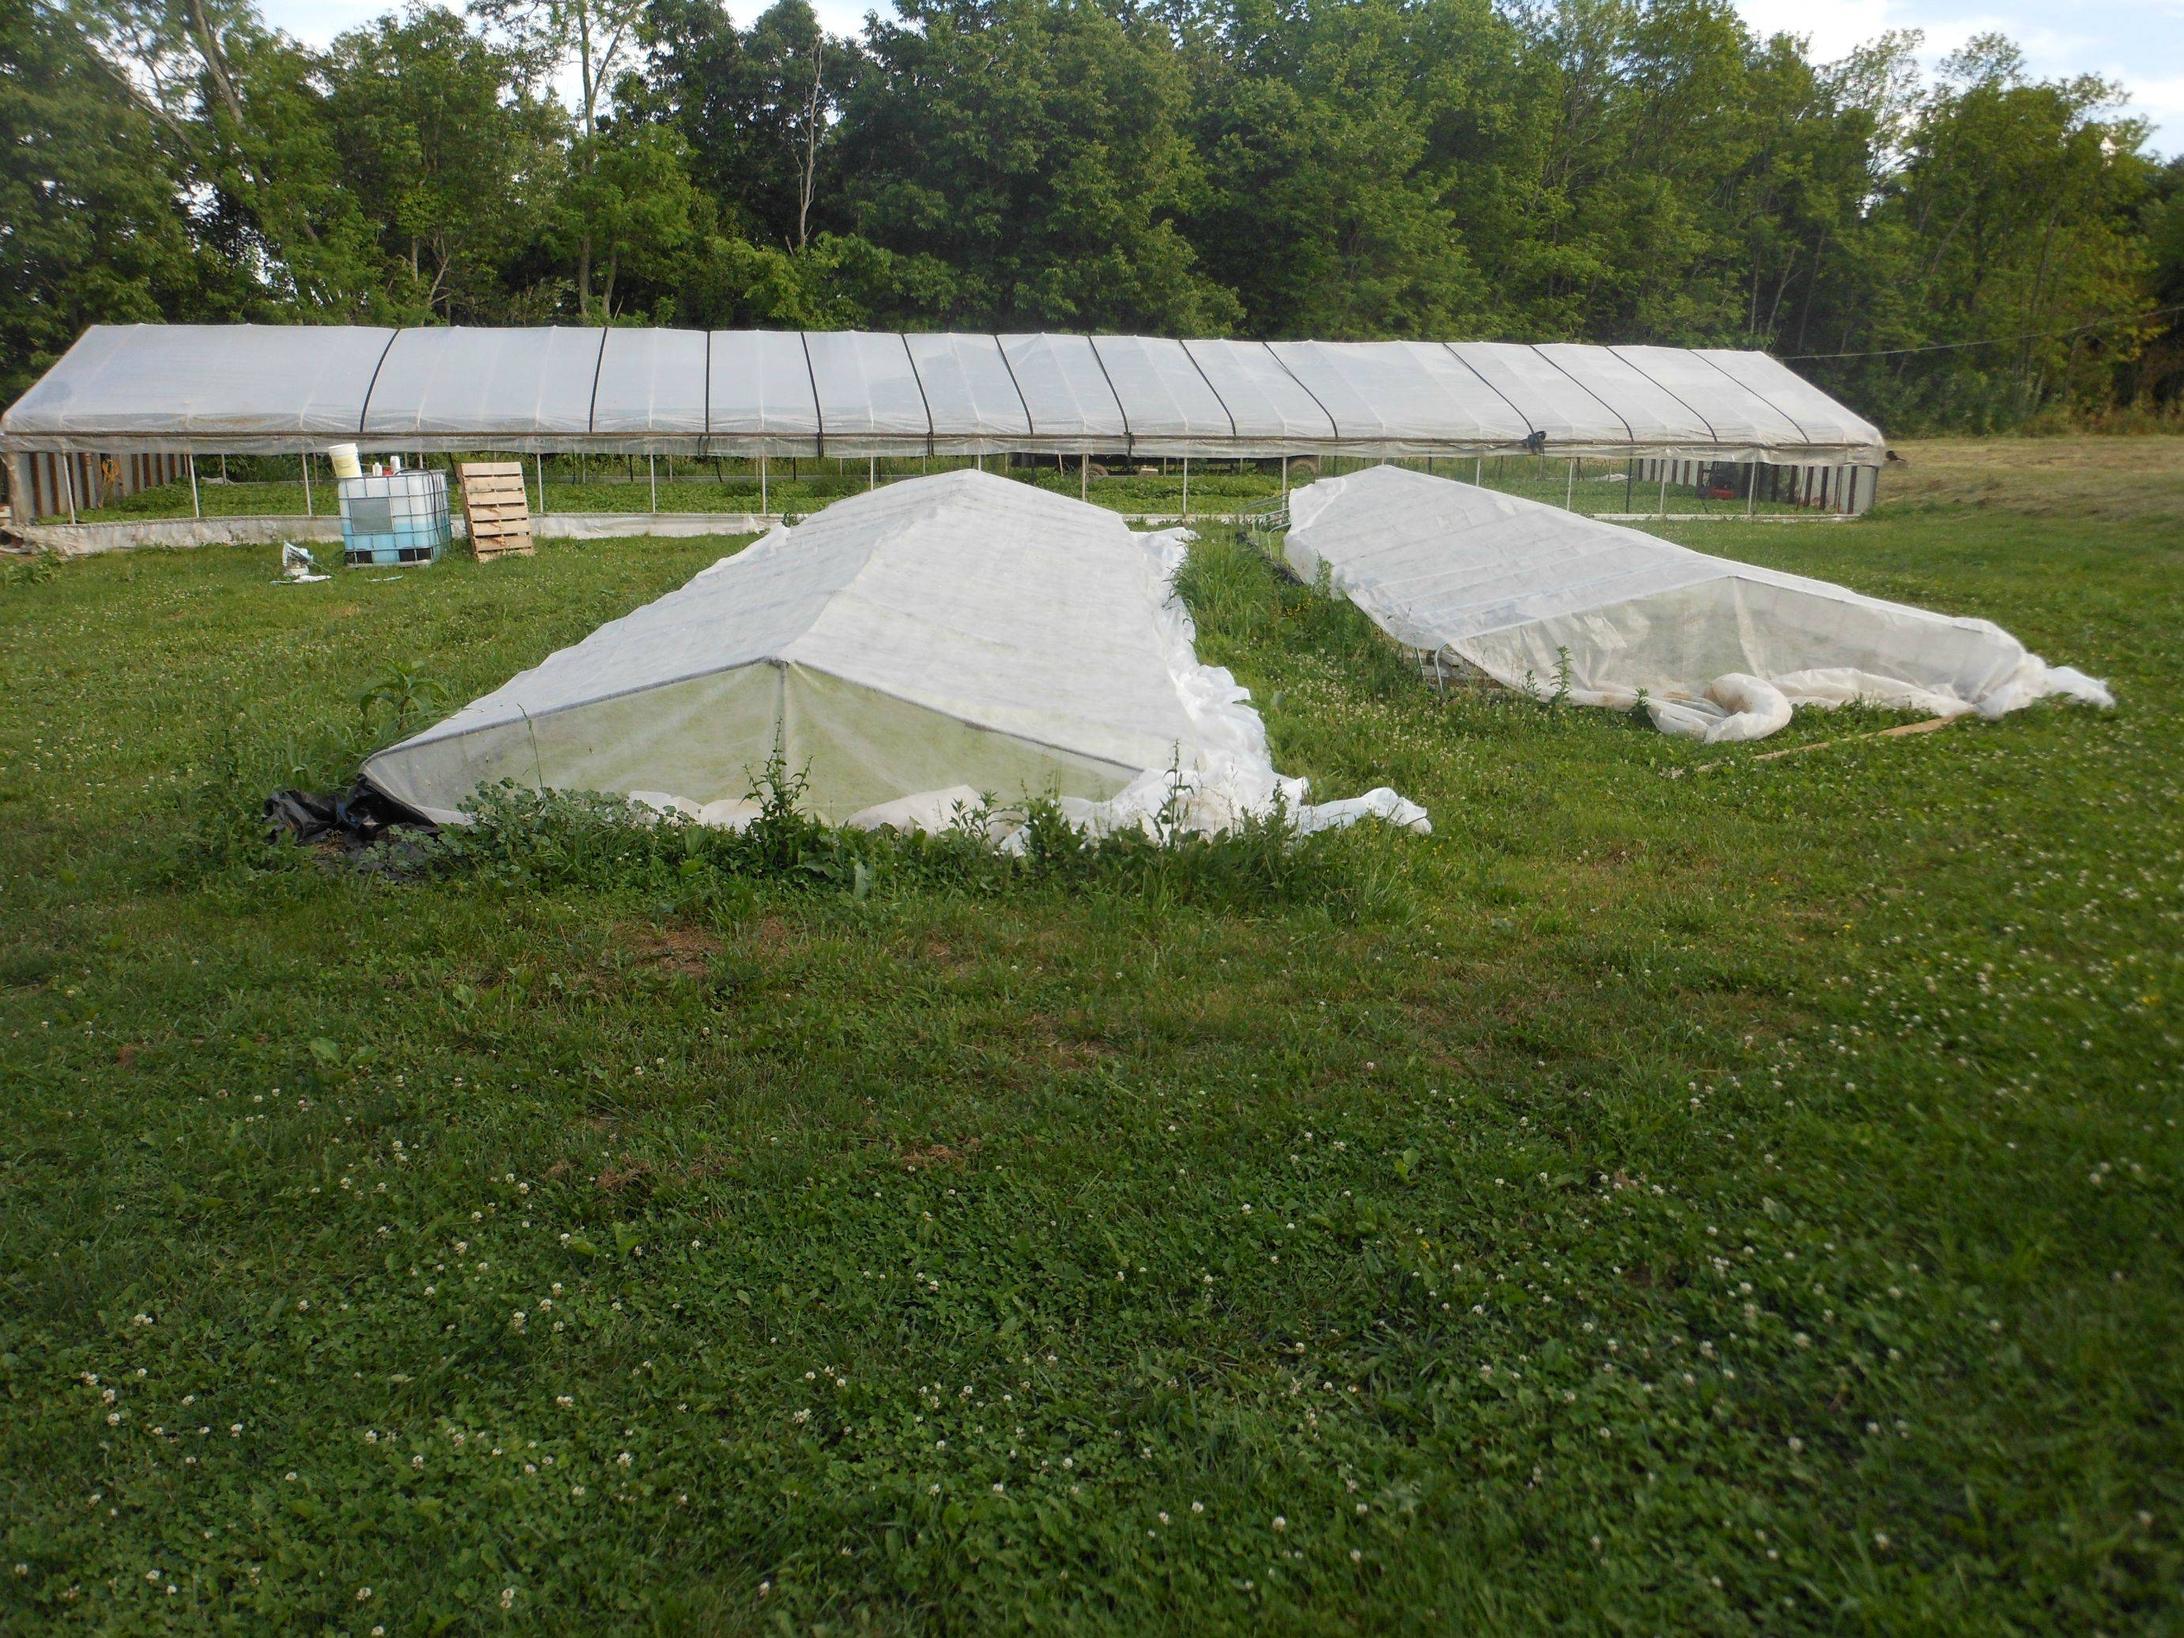
Inglorious Floating Row Cover
It's just not as thrilling to look out on sheets of Agribon AG-15 spread on the ground. It won't evoke phrases such as, "They're looking good."
This stuff pretty much eliminates attacks from above--by mammal or by bird. Once the plants look rugged enough to take care of themselves, then the laundry comes off.
Agribon AG-15 from last year, being re-used.
High-tech row cover anchors.
Bob
")

I have both a turning fork and a rectangular tread shovel. I've dug these beds various ways for years. The best thing in the world is this 6" stainless steel hand hoe/cultivator.
It cost about $10 at Lowe's. It was so wonderful, the first season that I used it, that I bought a spare, just in case they stopped carrying them. The original one has lasted about 6 or 7 years so far, and the spare still has its wrapping.
Using the hand hoe requires about 20% more time to complete working all the beds, but at about half the total energy outlay of using a shovel and fork. Then, when it comes time to layout and dig the holes for each transplant, the hand hoe is again the perfect tool for planting.
The larger tools leave a lot of small root segments that can re-sprout (like Creeping Charlie), unless the soil tilth is ideal--which isn't often. The little hand hoe gets everything, and allows me to work close to the soil, saving my crumbly back. One other significant benefit is that I actually can see and remove most of the cutworm larvae that have overwintered in the soil. When I used larger tools, I seldom saw them.
Unlike many of the young bucks on the forum, who set aside a day to till, I set aside a month and a half. For me, it's a gentle, meditative process--a Zen-like experience, preparing one 5' x 12' bed at a time. As the tortoise in the race, I am satisfied with the process. (In a strange way, my stainless steel hand hoe reminds me of Buffalo Bird Woman's hoe, made from a deer scapula. It uses persuasion, rather than brute force.)
I know this all sounds pretty soppy, but I love my hand hoe.
Bob
It was a considerable effort for me to remove (by hand, over a period of 6 weeks) all the grass and weeds and their entire root systems from their winter growth in these previously cleared beds. Then, after waiting for new season weed and grass seed to germinate, I torched the surfaces with a propane garden torch.


Search the big box sites for "garden torch."Torch...yeahhhh. fire!!!!! Love that idea. So you just tie a small tank to a stick n go?
Prior to transplanting, I provided each 60 ft[sup]2[/sup] bed with 1-1/2 cups of low-chlorine 10:10:10 fertilizer (which is the recommend application rate for tomatoes)....don't you give the seedlings some fertilization when you put them in the ground ?
:K application rates between the two different approaches to fertilizer, the 1-1/2 cups of 10:10:10 is roughly the same as only 1/2 bag of Black Kow. But the low-chlorine 10:10:10 significantly outperformed the 2 bag application of Black Kow to each bed.We discuss any variety of tobacco, as well as numerous approaches to growing, harvesting, curing, and finishing your crop. Our members will attempt to provide experience-based answers to your questions.